How to setup ghost in Docker

ghost is a blogging platform that came up as an alternative to the popular wordpress. It's a simple but powerful platform, still evolving and a lot of amazing features. As ghost.org claims, ghost is much faster than wordpress in performance; particularly when it comes to page load times. The second innings of my blog journey I decided to venture out with ghost and this site itself is hosted on ghost.
Earlier I had my blog on wordpress. I also used to have a local installation of wordpress where I test out my changes to themes etc. Ran XAMPP and wordpress where I usually test out my changes, theme modifications etc. This is like 10 years back.
Now with ghost, I wanted to do the same and looked around. I also wanted to make sure that it is isolated and not installed directly on the OS. One of the options was to have it hosted in AWS account and use that as my test environment. The other cool option would have to be Docker. A very simple process I followed and I was up in 5 minutes with docker running in my macbook pro.
I'm going to assume you know a bit about Docker and some of it's commands.
Setup Docker in a Container -
First we need to download the ghost Docker image from Docker hub. Open a command prompt or a shell based on your operating system and pull the ghost image.
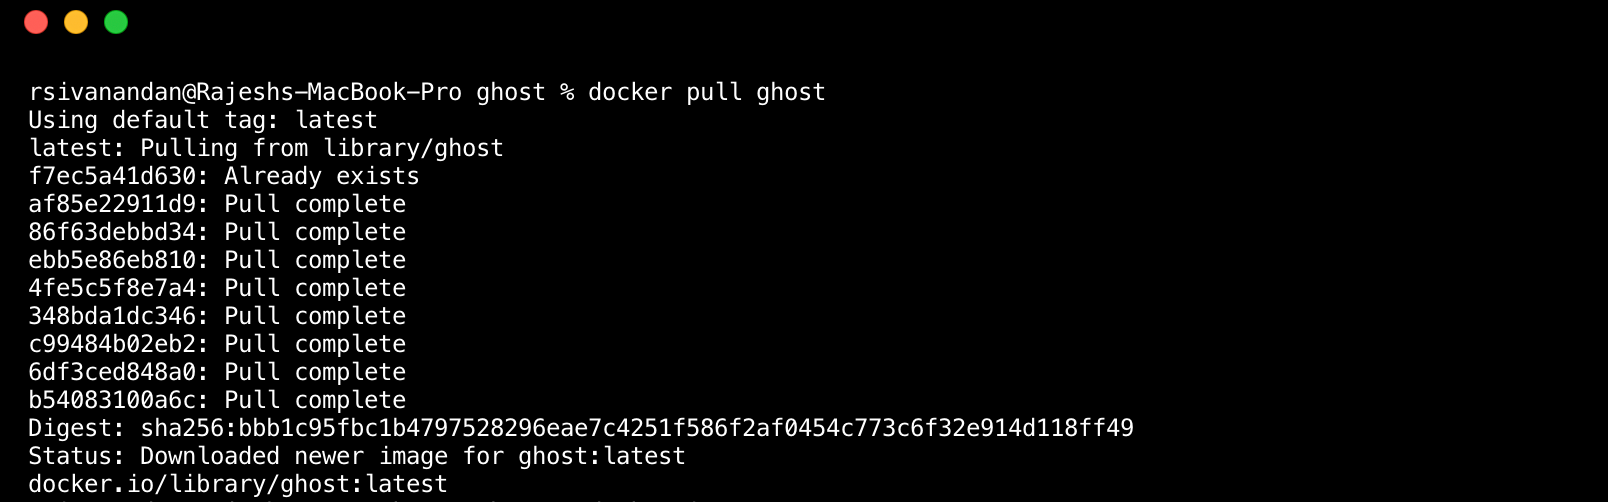
As you can see, the Docker pulled the latest ghost image from Docker Hub.
Second, we need to run it.

A quick reference on the command itself.
docker run --name myblog -e url='http://localhost' -p '80:2368' -d ghost
From the image that was downloaded, the above command says to start a container instance with;
name = 'myblog' #name of the container
-e url = expose it to 'http://localhost' #so that I can access it from macbook's web browser
-p = '80:2368' # ghost by default runs on port 2368, I have forwarded that port to '80' which makes it easier to access from browser. You can use any port.
-d ghost = '-d' is for detached from the console and name of the image to use which is 'ghost'
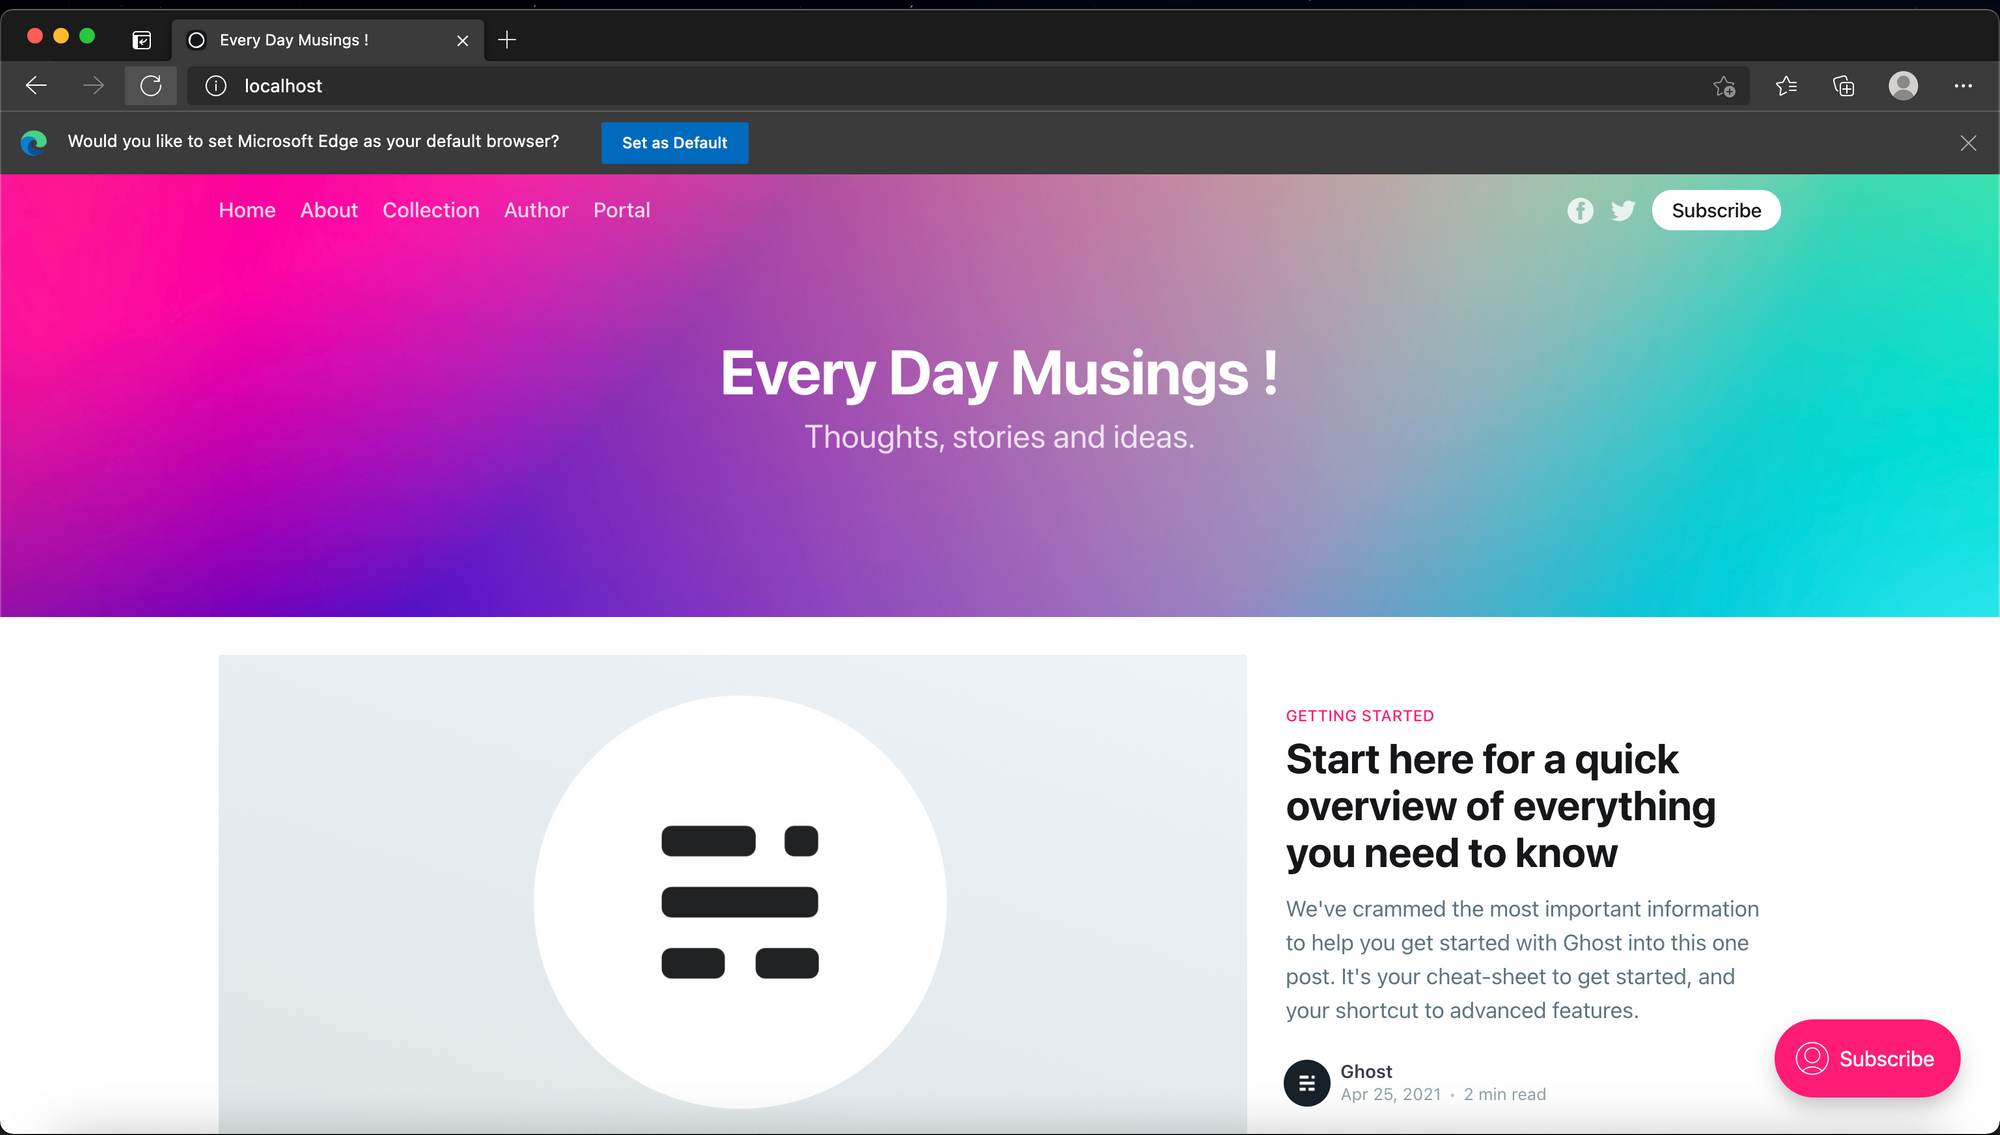
That's it. It's installed and in couple of minutes you will be able to launch your browser get to ghost via the url 'http://localhost'
You can access the admin using 'http://localhost/ghost' and setup the site etc. You could play around with integrations, different themes etc before you actually apply it in the main blog site.
I have just started learning the Docker myself and this sure was a good use to test it out. Hope you find it useful too...
Peace...